Homemade Haus – Sunburst Mirror

So I’m jumping on the bandwagon, albeit last years’ bandwagon, and making my own attempt at a DIY sunburst mirror! I have a big blank wall at work that I’d like to spice up, and this mirror should do the trick nicely. It’ll also give me a good place to freshen up without having to venture into the nasty ladies’ room (WHY are the women at work SO GROSS…)

This is the mirror I’m going to make, from the Centsational Girl blog:

DIY paintstick mirror (photo courtesy of Centsational Girl)

So far I have an 8″ mirror ($4.99 at Hobby Lobby), an 8″ embroidery hoop ($1.19 at Hobby Lobby), liquid nails, a paintbrush, and paint (Folk Art’s “Metallic Sahara Gold” and “Metallic Champagne” – layered, should give the mirror depth and a bit of shine). Maurice is making me a custom picture hanger, and he managed to score 50 paint sticks from Sherwin Williams for free!! We searched for them high and low; Lowe’s will only give out 2 at a time?! At that rate we’d have to hit up every Lowe’s in Texas!!

I need to cut & sand the paint sticks tonight, and then I’ll start putting everything together 🙂 The project should only cost roughly $25, including everything we had to buy more of (liquid nails, fresh Xacto blades, and paint) so I really can’t complain about the cost!! If it turns out well then I’ll proceed to redecorate the rest of my boxy office.


My husband knows me

I knew Maurice was up to something good yesterday when he emailed and said “I have a surprise for you.”  Despite my plea to TELL ME RIGHT NOW OMG I CAN’T WAIT TELL ME TELL ME!, he didn’t cave in. He never does which I find irritating love about him. I’m never any good about waiting for surprises, just ask my mom. She’s no good at it either.

When I got home, Maurice had a sly look on his face and a hand behind his back. First thing I said was “I WANT MY SURPRISE NOW PLEASE!!!” and he showed me his closed hand. “WHAT IS IT WHAT IS IT!” When he opened his hand, he had a small black key. I squinted my eyes and said “is that what I think it is?…”

Sure enough, the key belonged to exactly what I thought and hoped it would be:
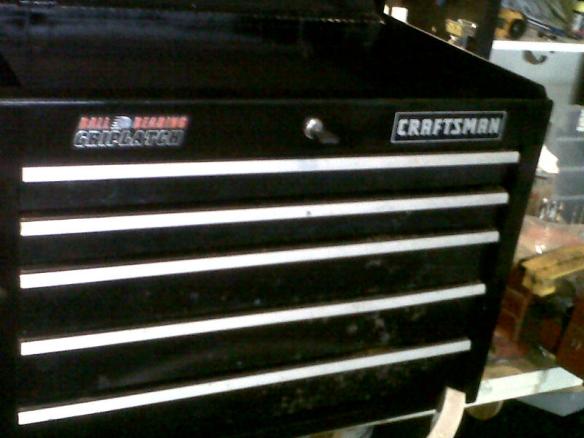
my very own toolbox!

There it was, all shiny and newly-restored just for me! No more sharing, no more digging through his mess (sorry honey) of tools to find mine, no sticky glue or flammable liquids to get on my pretty hands while searching for MY tools… it even has my name on it!
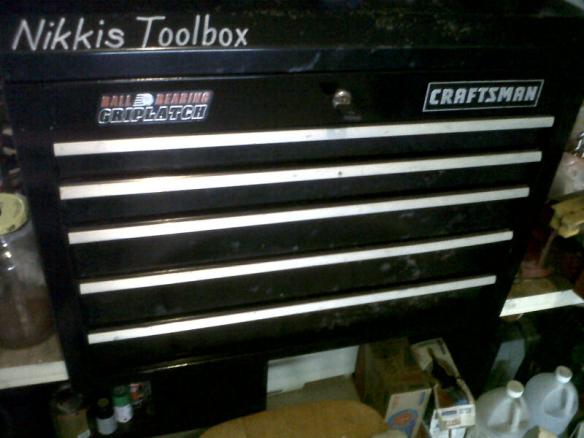
yep, that's mine

Now I can really get down to business building beds and side tables and dining tables with benches and TV stands and whatever else I or my family & friends may want! Knowing that would be my desire, Maurice even included these wish-list goodies for me so that I can start right away:

carpenter's square

carpenter pencils

I think what’s even cooler is that Maurice put so much work and thought into restoring it for me! He salvaged it from the work trash pile and brought it home, knowing that with a little elbow grease, paint, and a few adjustments it’d be good as new.

Here are a few pictures of the work he’s done to it to get it pretty for me:

before: rusty, dirty, nasty

yuck
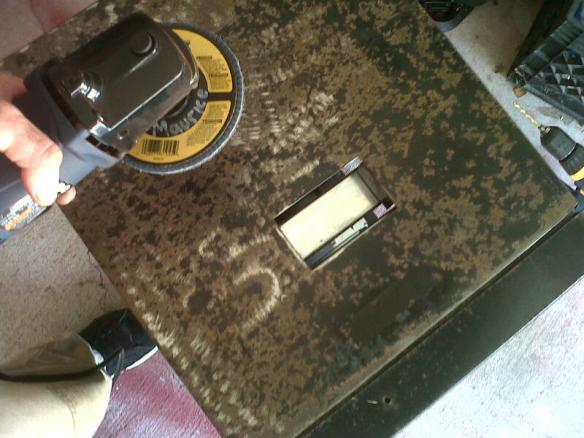
sanding the rust away
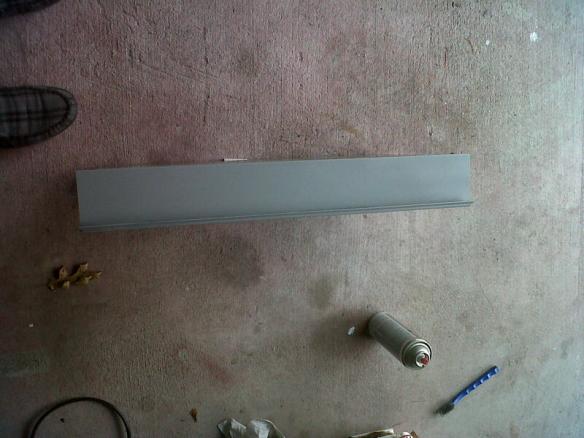
taking it all apart

prepping for paint
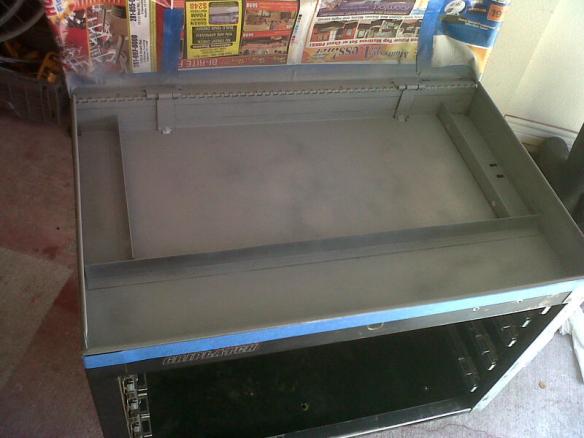
first layer of paint goes on
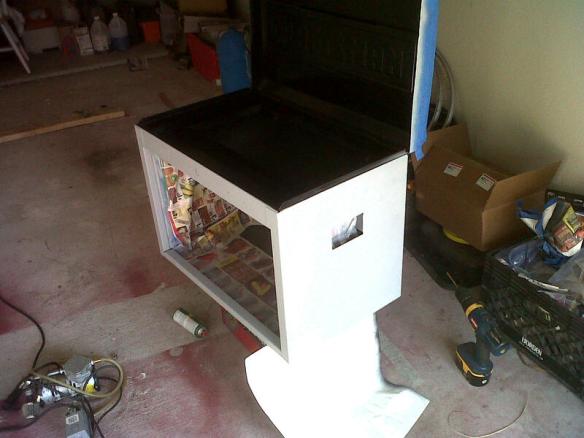
then the guts get prepped and painted
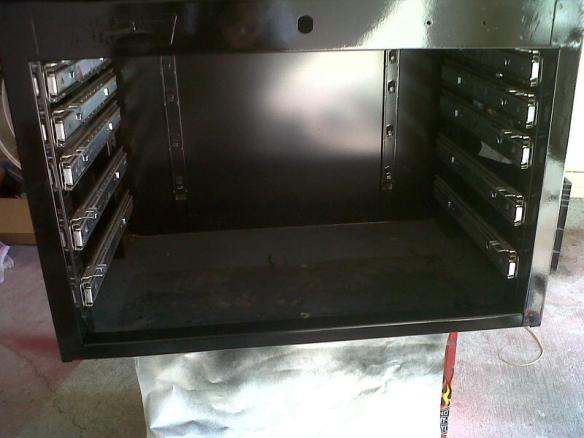
hardware gets adjusted and prettied up!

He even put noise-dampening pads on the top lid so that when it closes, it doesn’t make a peep (he knows I hate loud noises). He thought of everything!! Now I just need to fill it up. I have some card making materials going in the top drawer. Surely he won’t mind if I put modge-podge and 20 vials of glitter in there.

So to all you nay-sayers who say that I must be joking when I ask for a 12″ sliding compound miter saw, or that I prefer to receive something useful rather than extravagant as a gift, take this as a lesson. Not all women want diamonds and froo-froo; some of us want tool boxes and a man in overalls. But all of us really just want a man that listens to what we like and supports our interests….even if it means giving up a tiny bit of garage space 🙂

New Shoe Rack

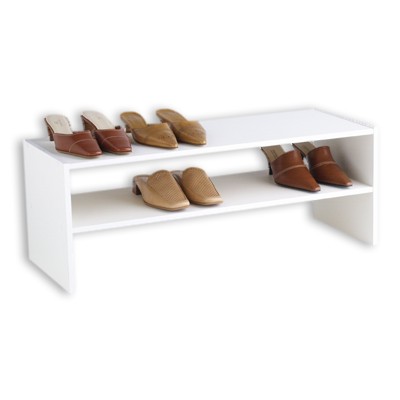
More than a few years ago I purchased this shoe rack from The Conta!ner Store:

$17.99 for 31" of storage space

At the time, I had very few shoes; I was a college student and didn’t have the need for much of anything other than flip flops, a pair of tennis shoes, and a few random others. The shelf worked well until I married Maurice.

Maurice is a man who knows and loves his shoes. He takes excellent care of his shoes and gets feisty when people step on his toes. He’s been known to take a bleach-soaked q-tip to his sneakers to keep them squeaky clean. His feet look good, people!

Anyway, we’ve been struggling to find storage space in our cramped-more-every-day closet, of which we only have 1. Short of – gasp – getting rid of some shoes – we have been brainstorming every which way to make the closet more functional, given that we live in an apartment and it’s not ours, because if it was, (1) we’d live in much more than 850 square feet of space, and (2) the ridiculous closet would’ve been redone years ago!!

{I joke that as frustrating as our apartment (and clothes closet) is, it is preparing us well to live in NYC. Which makes Maurice cringe but I like to look on the bright side!}

Which brings me to our latest project, the new shoe shelf we built yesterday afternoon. I measured an additional 50″ of space along the closet floor and told Maurice we were going to Lowe’s. After $12 worth of materials and 30 minutes of elbow grease:

measure twice, cut once

and some wood glue and stick the end on the middle shelf

screw it all together

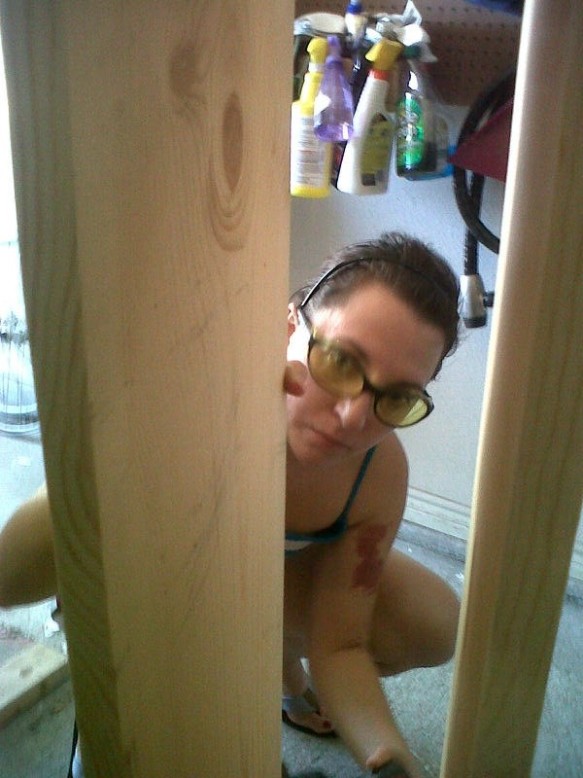
check for square (don't forget to wear eye protection, even if they make you look nerdy!)

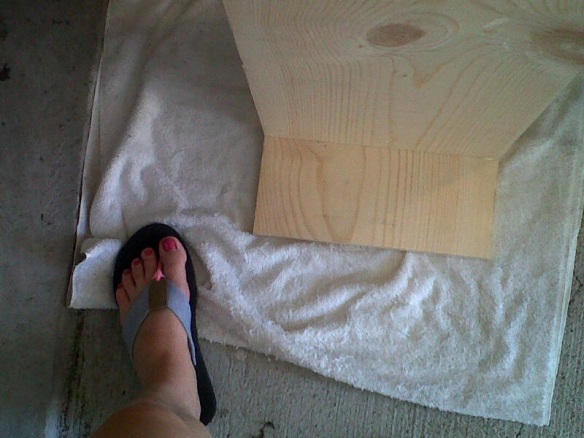
give your shoe a sneak preview of its new home

perfect size match to the $$$ one from conta!ner store

...then fill it up!

Conta!ner Store: $17.99, 31″ of shoe real estate
The Belleville’s: $12, 90″ of shoe real estate (winning!)

I think I’ll paint them both hot pink next weekend, and build Maurice a separate one that is wider and taller to accommodate his manly feet.

Thanks for the help, B!

New Console Table – Finito

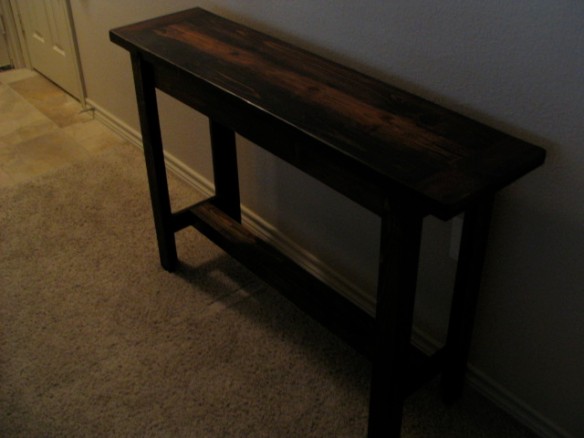
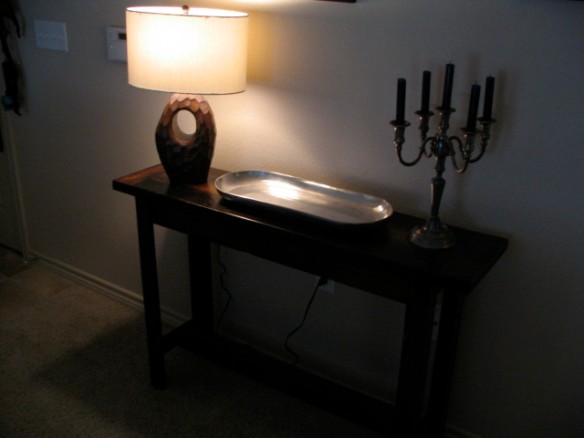
One humid summer (read: bad time to stain), several business trips, 9 months, and several lazy weekends later…. the console table I built in February is finally finished!

Dark picture but you can kind of see the way the wood looks!

Simple and sturdy!

a la Evening :)

Eat it, Barn of Pottery, this sucker only cost me $22 to build!

New Console Table – Unfinished

Maurice and I started building our new console table this weekend. I’ve been wanting/needing a console table for quite some time but couldn’t quite swallow the $499 price tag on the one I really, really wanted at a certain home decor shop. Seems to be that the more simple something is, the harder it is to find and the more it costs.

Really, how difficult could it be to build a table with four solid legs and a chunky top? “Not that hard” I had always assumed…. yet never found any plans to build my own.  Until 2 weeks ago when I came across my new favorite blog, Knock Off Wood. Ana is one badass chick and my new go-to gal for furniture. Between her and my friends (they don’t know it yet, but they are my friends!) at Young House Love I could furnish and redecorate my entire house.

Anyway, Ana made up some plans for the kick-ass console table I’ve been eyeballing and I jumped on it. The price tag was by FAR better than the $499 one at the “other” store, not to mention the satisfaction of building something on my own. My friend Ricky lended me his tools (thanks Ricky!) and my darling husband his time. We bought everything else we needed (lumber, wood glue, screws, stain, etc.) at the big blue hardware store and set to work. Here it is in progress:


cutting the different lengths of wood

framing the table

all put together

…once it’s been sanded and stained I will post the final pictures!